Moken (Xiamen) Industrial Co., Ltd.
Leave Your Message

7 Tips for Choosing the Right Sink Rubber Gasket?

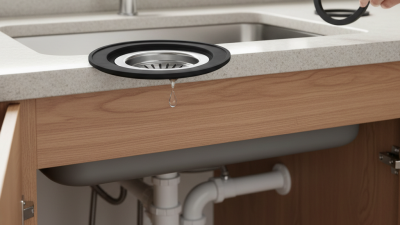
Choosing the right sink rubber gasket seems simple until a slow, almost invisible leak appears beneath the basin. A few drops can swell a cabinet floor, stain stored items, and create an unpleasant smell. The gasket is small, but its fit affects the entire drain connection. This guide explains seven practical checks for selecting a Sink Rubber Gasket that matches your sink, drain assembly, and daily use.

Start with the details professionals inspect: opening diameter, gasket thickness, material, shape, compression, and installation space. Measure the old gasket after removal, but do not trust it blindly. Old rubber can flatten, stretch, or harden. Compare those measurements with the drain manufacturer’s specifications whenever possible. Look for rubber that stays flexible without feeling oily, cracked, or excessively soft. A gasket should seal firmly, not require heroic tightening. Too much force may distort the flange or damage the sink surface.

Real-world fitting still matters. A product can appear compatible online and fail beside a curved basin or narrow cabinet wall. I have seen small profile differences cause repeated adjustments, even when the listed diameter seemed correct. That is worth remembering. Before buying, consider water temperature, cleaning chemicals, vibration, and how often the drain is used. The following tips will help you question vague product descriptions, compare reliable materials, and avoid choosing by price alone. No gasket lasts forever, and installation quality can matter as much as the rubber itself.
7 Tips for Choosing the Right Sink Rubber Gasket?

Confirm the Sink Drain Size and Gasket Compatibility

7 Tips for Choosing the Right Sink Rubber Gasket

Confirm the sink drain size before buying a rubber gasket. Measure the drain opening, flange diameter, and pipe connection with a ruler. Tip 1: Check both inner and outer diameters. A gasket may look correct but still leak if its center hole is too narrow. Tip 2: Compare these measurements with the drain assembly’s specifications. Do not rely on appearance alone. Tip 3: Confirm the gasket’s thickness. The correct thickness should fill the joint without forcing the flange upward.

Tip 4: Match the gasket to the drain design. Some sinks use a flat gasket, while others require a beveled or tapered shape. Check whether the drain includes an overflow channel or a special seating surface. Tip 5: Choose a material that tolerates water, temperature changes, and regular cleaning. EPDM rubber is often suitable for many plumbing applications, but compatibility still depends on the installation.

Tip 6: Inspect the sealing surface before fitting the gasket. Remove old sealant, rust, and grit from the flange and sink opening. Even a good gasket can fail on a rough surface. Tip 7: Tighten the drain gradually and evenly. I once trusted hand pressure too much, and a slow drip appeared later. More tightening is not always better. Follow the fitting instructions and test the drain with a full basin of water. A second check helps.

7 Tips for Choosing the Right Sink Rubber Gasket? - Confirm the Sink Drain Size and Gasket Compatibility

Tip What to Check Typical Measurement or Requirement Why It Matters Practical Action
1 Confirm the sink drain opening Measure the opening diameter at the sink surface. Many standard kitchen and bathroom sink drains use an opening close to 3.5 inches (about 90 mm), but sizes can vary. A gasket designed for a different drain size may not sit flat or create a continuous seal. Remove the old gasket, clean the area, and measure with a ruler or caliper before ordering.
2 Match the gasket’s inner and outer diameters The inner diameter should fit around the drain body without excessive stretching. The outer diameter should fully cover the sealing contact area. Correct diameter alignment helps prevent gaps, distortion, and water paths around the drain. Compare the replacement gasket with the original part and verify both diameter measurements.
3 Check the gasket thickness Common rubber sealing rings may be approximately 2–5 mm thick, depending on the drain design and compression space. A gasket that is too thin may not compress enough; one that is too thick can prevent the drain nut from tightening correctly. Measure the original gasket when it is not severely compressed and compare it with the replacement specification.
4 Identify the correct gasket position Sink drain assemblies commonly use a gasket below the sink, while some designs also require a putty or sealant connection above the sink. Installing a gasket in the wrong location can leave the drain flange or sink connection unsealed. Follow the drain assembly diagram and keep the gasket centered on the drain body during installation.
5 Select a suitable rubber material EPDM is commonly suitable for water exposure; silicone offers flexibility and broad temperature resistance. Material suitability depends on the application. The material must tolerate moisture, cleaning products, temperature changes, and long-term compression. Check the material specification and avoid unknown rubber compounds for permanent plumbing repairs.
6 Inspect the sealing surfaces The sink underside, drain flange, and retaining nut should be clean, smooth, and free from cracks, corrosion, old sealant, or sharp edges. A damaged or dirty surface can cause leakage even when the gasket size is correct. Clean the contact areas, replace damaged components, and ensure the gasket sits evenly without folds.
7 Test the finished seal After tightening, run water for several minutes and inspect the drain connection from below. Retighten only as needed. A water test confirms whether the gasket is centered, compressed, and compatible with the drain assembly. Use a dry paper towel beneath the joint to reveal small leaks. Do not overtighten, as this may deform the gasket.
Quick compatibility rule: Choose a gasket whose inner diameter, outer diameter, thickness, installation position, and material all match the sink drain assembly and the sealing surfaces.

Choose Rubber Material for Water, Heat, and Chemical Resistance

7 Tips for Choosing the Right Sink Rubber Gasket?

Choosing a sink gasket starts with the fluid, not the color. For drinking-water fittings, choose rubber documented for potable contact. The WHO/UNICEF Joint Monitoring Programme’s 2023 report found that 2.2 billion people lacked safely managed drinking water in 2022. That figure makes material traceability more than paperwork. Check NSF/ANSI/CAN 61 evidence, batch details, and the supplier’s test records. A cheap, unknown compound can transfer odor or soften unnoticed.

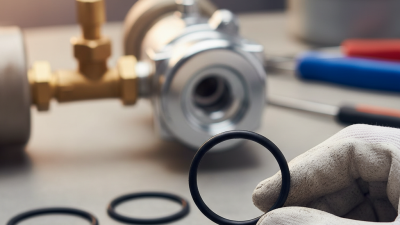
Heat and chemicals create different problems. EPDM generally suits water, steam, and many mild cleaners. Silicone handles broad temperature changes, but its compression strength may disappoint under a heavily tightened drain nut. Nitrile can resist oils, yet it is not automatically the best choice for hot water. Fluoroelastomers resist many aggressive chemicals, although their water performance and cost require careful review. ASTM D471 and ISO 1817 immersion tests can show swelling, cracking, or mass change after fluid exposure. Ask for results using your actual cleaner, not a generic “chemical-resistant” claim.

Measure the groove, gasket thickness, and bolt compression. A gasket squeezed too far may extrude during installation. I once trusted an attractive universal seal; it leaked after repeated hot-and-cold cycles. That shortcut failed. Check the service temperature, chlorine level, pH, and cleaning schedule together. Real kitchens are messy. Replace a gasket showing hard edges, flattening, sticky surfaces, or tiny radial cracks.

Match the Gasket Shape, Thickness, and Compression Requirements

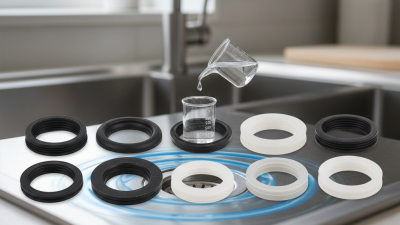
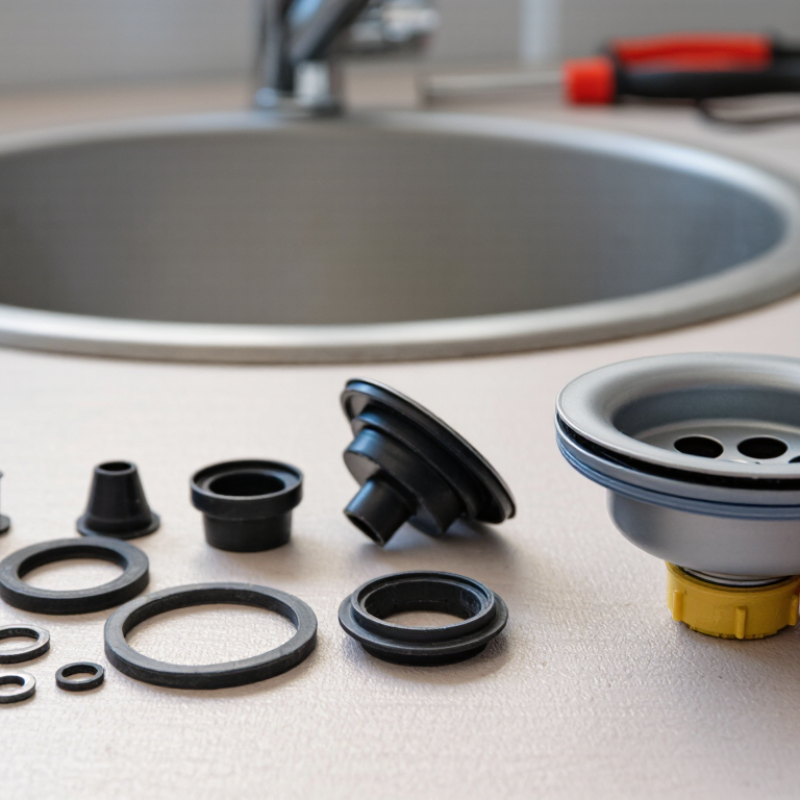
Tip 1: Trace the old sink rubber gasket before ordering a replacement. Its outline may be round, oval, rectangular, or irregular. A nearly correct shape can still leave small leak paths.

Tip 2: Measure the gasket’s inner opening and outer edge. Do not measure only the sink hole.

Tip 3: Check the cross-section with a ruler or caliper. A thicker gasket is not automatically better. It may prevent the drain or fitting from seating properly.

Tip 4: Match the material to the water, temperature, and cleaning products used nearby. Check the fitting instructions for approved materials.

Tip 5: Consider compression carefully. The gasket should compress enough to seal, but not flatten completely. Excessive tightening can squeeze rubber away from the joint.

Tip 6: Inspect both contact surfaces for scratches, rust, or leftover sealant. Even a quality gasket cannot correct a damaged surface.

Tip 7: Tighten gradually and evenly, then check for moisture after running water. A dry first test can be misleading. Wait a few minutes.

In practical maintenance, small measurement errors cause many repeat leaks. I sometimes recheck the thickness because the old gasket may have permanently flattened. That detail is easy to miss. Avoid stretching the rubber during installation. Lightly wetting a compatible gasket can help it settle, but follow the fitting guidance. If the shape, thickness, or compression requirement remains unclear, use the sink or drain specification instead of guessing.

Evaluate Gasket Quality, Durability, and Safety Standards

Choosing the right sink rubber gasket requires more than matching a round shape. I have seen leaks begin with a gasket that looked acceptable in the package. Check its exact diameter, thickness, and profile against the sink and drain assembly. A slightly wrong size can create uneven pressure. Inspect the rubber for cracks, bubbles, rough edges, or a strong chemical odor. These details often reveal poor manufacturing or unsuitable materials.

Durability depends on the rubber compound and service conditions. Confirm that the gasket tolerates hot water, cleaning agents, moisture, and repeated compression. Press the material gently. It should feel flexible, but it should not remain deeply deformed. Check its temperature range and compression-recovery information when available. A gasket designed for potable water should also have relevant safety approval, such as an applicable NSF/ANSI certification. Requirements vary by region, so verify local plumbing rules instead of trusting vague wording.

Consider seven practical checks: accurate dimensions, clean molding, material compatibility, temperature resistance, compression recovery, safety certification, and storage condition. Store the gasket flat, away from sunlight and heat. Do not reuse one that has hardened or flattened. I once focused too heavily on price and ignored the installation surface. That mistake taught me to inspect the sink flange for scratches and corrosion. Even a high-quality gasket can fail against a damaged surface. A thin layer of suitable lubricant may help installation, but excessive lubricant can encourage slipping. The fitting should feel secure, not forced.

Install Correctly, Test for Leaks, and Replace When Necessary

Choosing the right sink rubber gasket starts with accurate measurements, not appearance. Check the inner diameter, outer diameter, and thickness before buying. Compare the new gasket with the old one. A slightly incorrect size can cause uneven pressure and early leaks. Choose rubber designed for plumbing use and the sink’s operating conditions. Material matters.

Install the gasket on clean, dry surfaces. Remove old residue carefully, then inspect the flange for scratches or warping. Place the gasket flat, without twists or folds. Tighten the connection by hand first, then use a wrench gently. Over-tightening can flatten the rubber and create a leak. I once tightened a fitting too hard. That mistake was avoidable.

Test the repair before storing tools away. Fill the basin, release the water, and run the tap for several minutes. Place dry tissue beneath the connection. Even a small drop will leave a clear mark. Check again after several hours, because some leaks appear slowly. Replace the gasket if it becomes cracked, hardened, flattened, or permanently deformed. Heat, chemicals, and years of compression reduce its flexibility. Match the replacement dimensions carefully, and replace damaged flanges instead of forcing a new gasket to compensate. If moisture remains after correct installation, have a qualified plumber inspect the assembly.